
Boola Bardip – Innovations Gallery

Boola Bardip – Innovations Gallery

Boola Bardip – Innovations Gallery

Boola Bardip – Innovations Gallery

Boola Bardip – Innovations Gallery

Boola Bardip – Innovations Gallery

Boola Bardip – Innovations Gallery

Boola Bardip – Innovations Gallery

Boola Bardip – Innovations Gallery

Boola Bardip – Innovations Gallery

Boola Bardip – Innovations Gallery

Boola Bardip – Innovations Gallery

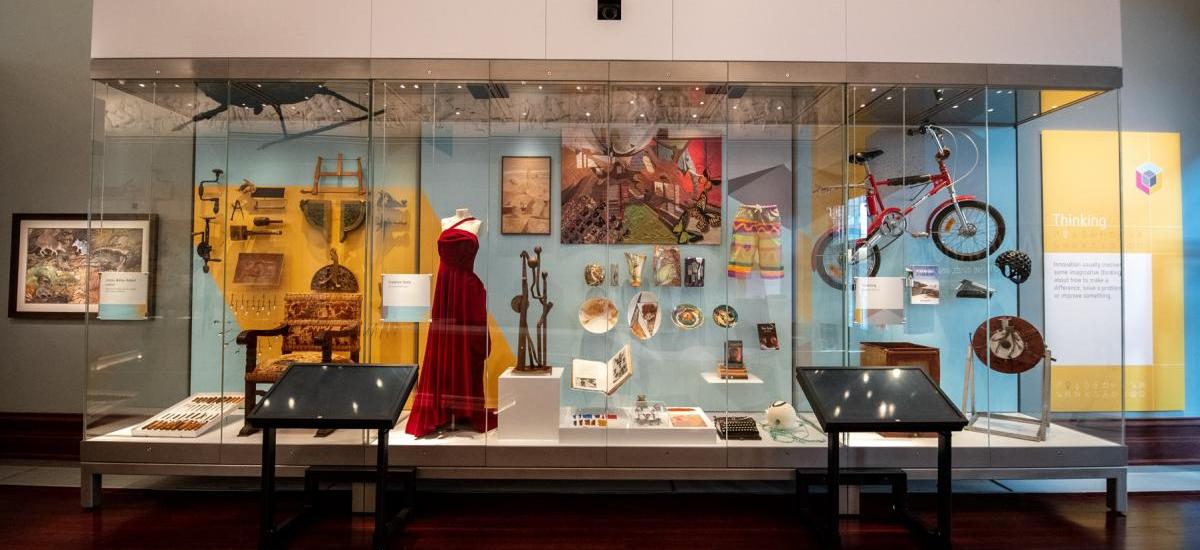
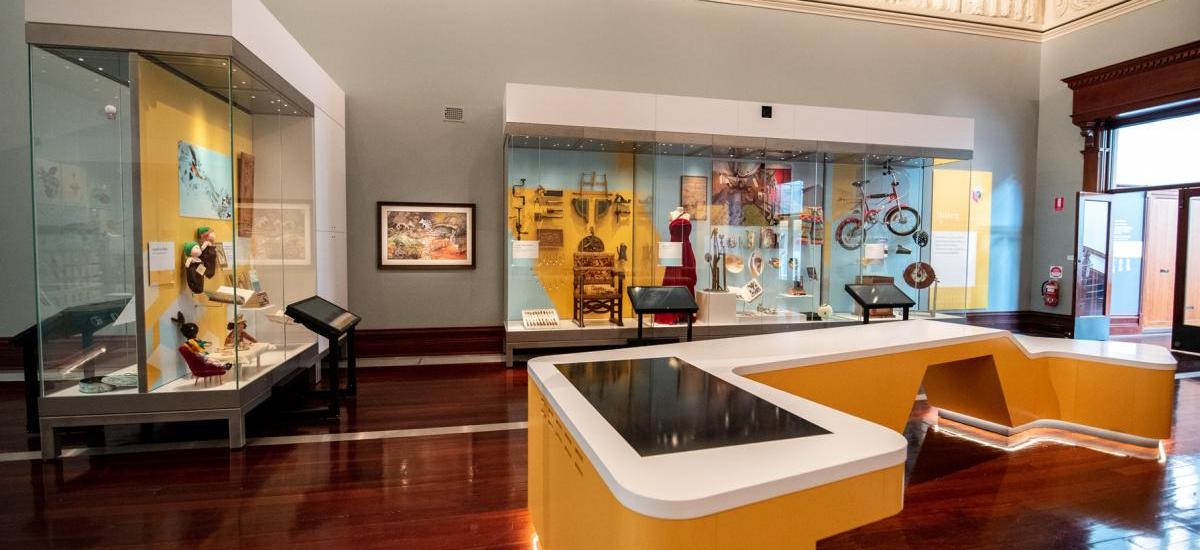
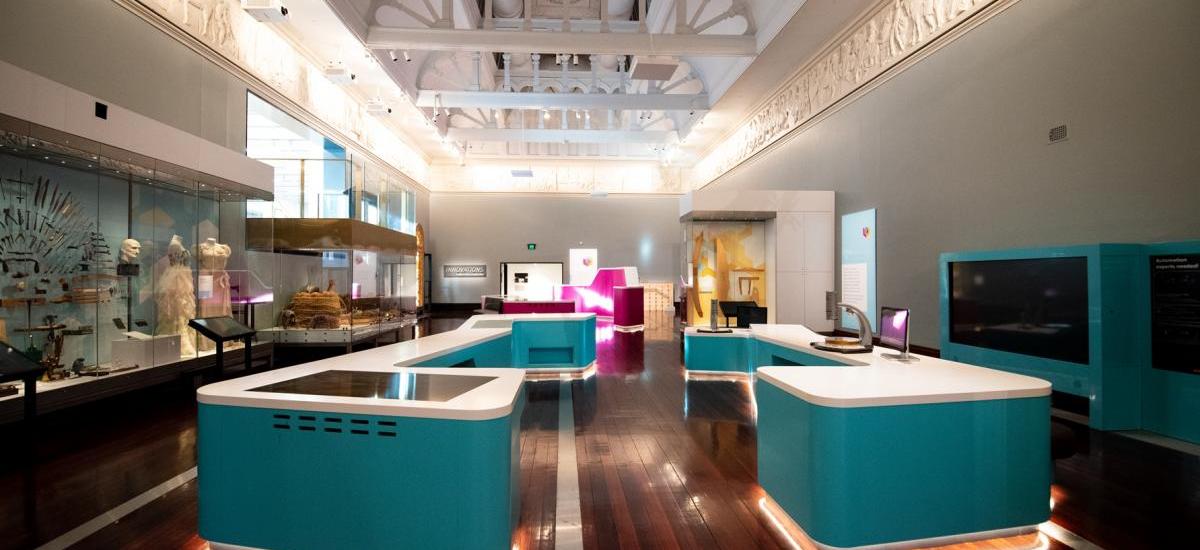
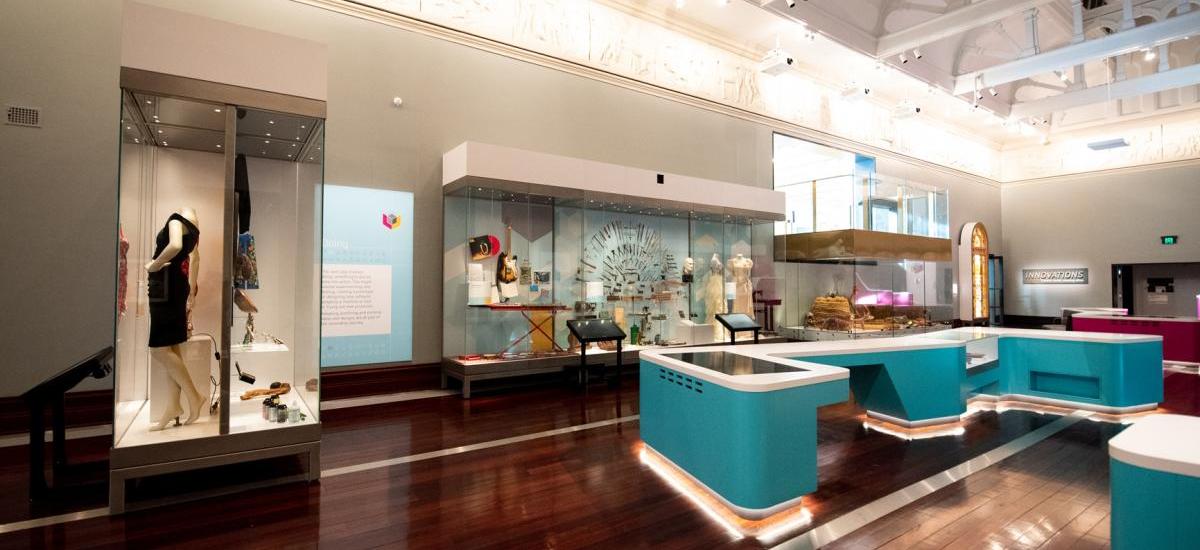
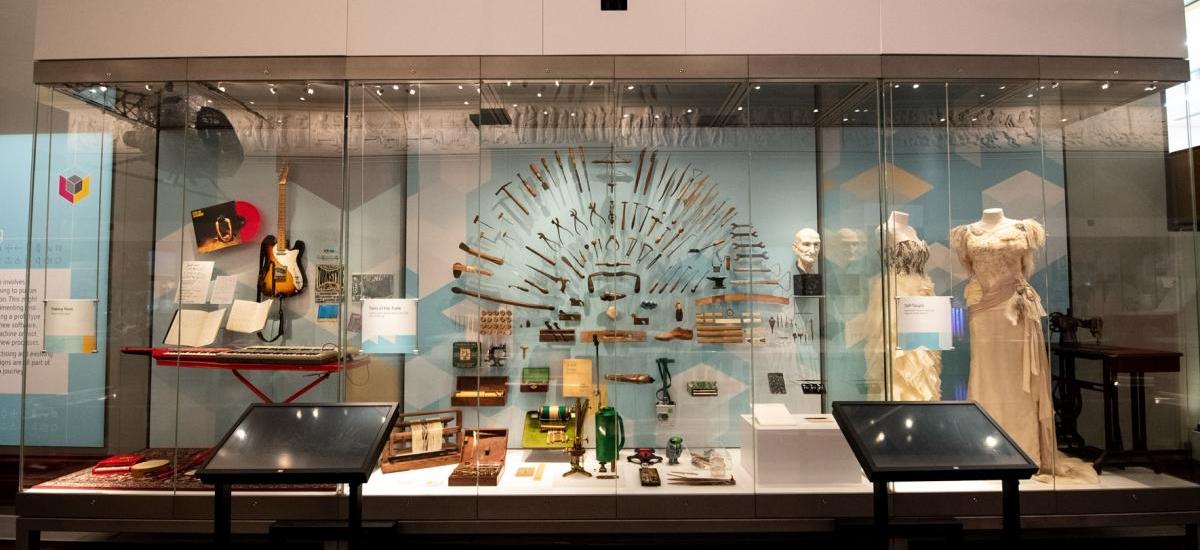
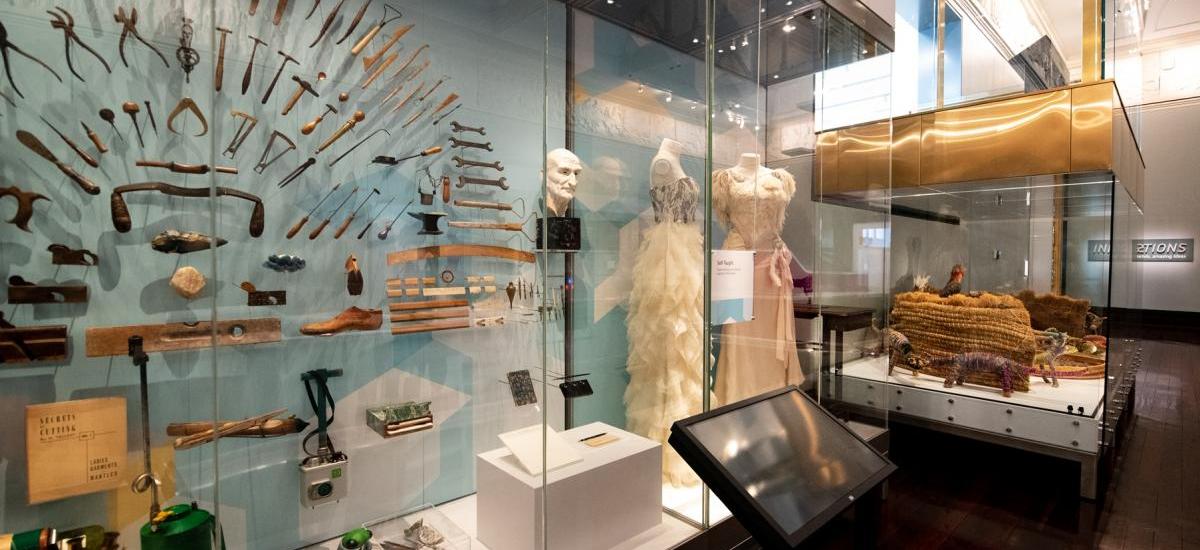
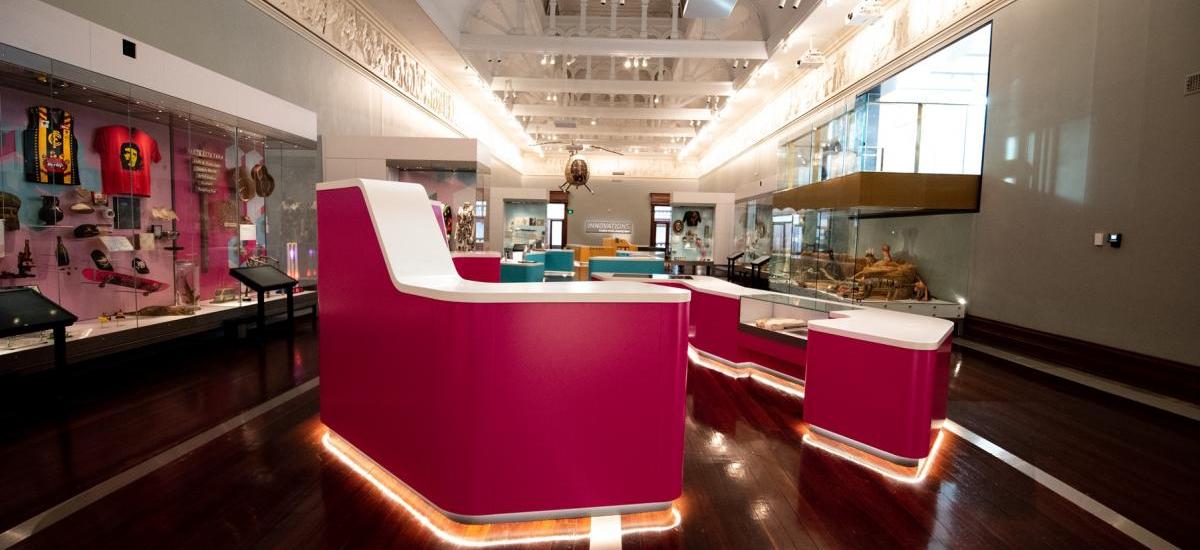
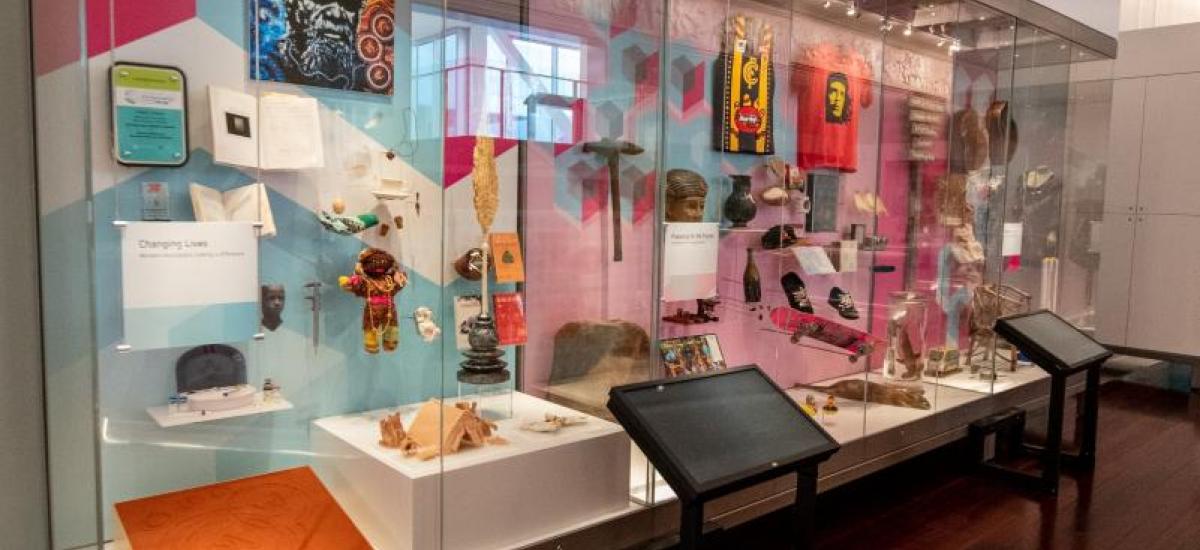
The Innovations Gallery at the Western Australian Museum Boola Bardip, is 1 of 4 Gallery spaces delivered by Designcase for the new museum project. In a similar design response to the Treasures or Hackett Hall Gallery, a large number of showcases were supplied with very high levels of front, and in some instances front-and-back access, to international museum showcase standards. A number of large format ClickNetherfield Spectrum were supplied with double-sided access and internal structural frames, making the showcase tell 2 separate stories, but with the ability in the future to become 1 large display volume as exhibition changeovers require. Flexibility with regards internal fit-out was a vital consideration for the Museum, as was the ability to ‘stack’ showcases side-by-side in order to give the appurtenance of mass display fit-outs, through multiple, smaller and easier to control display volumes. ClickNetherfield Spectrum were supplied through, offering an exceptionally high performance showcase with the options, as standard, for lighting, hanging track display, heavy object display and demountable for storage.
Photography by Michelle Sammut